
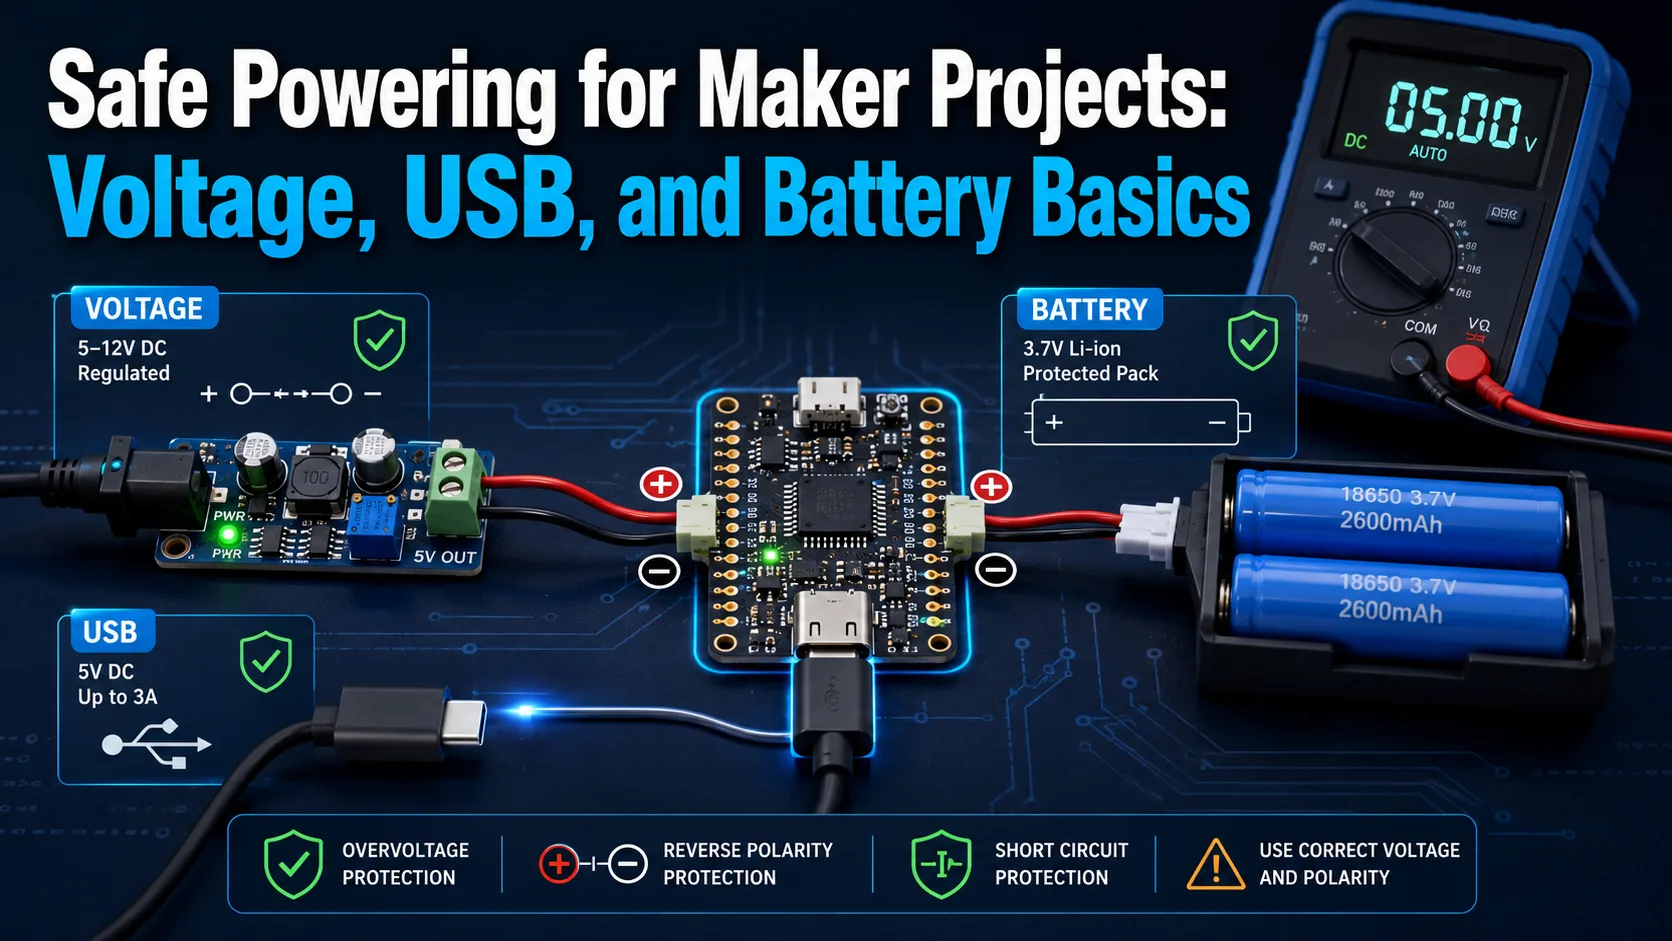
Learn how to safely power your DIY electronics and maker projects. Understand voltage, current, USB power delivery, and battery safety to avoid frying your components.
Introduction to Maker Power
When you embark on building your first DIY electronics project, whether it is a simple Arduino weather station or a complex autonomous robot, your primary focus is usually on writing code and connecting components. However, the most critical element that often gets overlooked is how to power your creation safely and efficiently.
Power-related mistakes are among the most common causes of fried microcontrollers, damaged sensors, and even hazardous situations like short circuits or small electrical fires. Understanding how voltage and current work is not just a technical necessity; it is the ultimate safety net for your projects and your workspace.
In this practical guide, we will break down the essential concepts of electricity for makers, explore the pros and cons of common power sources like USB and batteries, and share best practices to keep your hardware safe from unexpected damage.
The Core Concepts: Voltage, Current, and Resistance
To understand electricity without getting bogged down in complex physics formulas, it is helpful to use the classic water analogy. Imagine electricity flowing through a wire as water flowing through a pipe. In this scenario, voltage (measured in Volts) represents the water pressure pushing the water through the pipe.
Current (measured in Amperes or Amps) represents the volume of water flowing past a specific point every second. Resistance (measured in Ohms) represents the diameter of the pipe or any restrictions inside it that limit how easily the water can flow.
The golden rule for every maker is: voltage is pushed, while current is pulled. This means your power supply dictates the voltage forced onto your circuit, which must match your components' requirements. Conversely, your circuit will only draw the amount of current it needs, meaning a power supply with a higher current rating than required is perfectly safe to use.
USB Power: The Convenient Standard
USB ports and wall adapters are the most accessible and convenient power sources for maker projects. They provide a highly stable, standardized 5V output, which is the native operating voltage for many development boards like the Arduino Uno, and easily regulated down for 3.3V devices.
However, you must pay close attention to the current limits of your USB source. Standard USB 2.0 ports on a computer can only supply up to 500mA, while USB 3.0 ports can deliver up to 900mA. If your project includes power-hungry components like servo motors or bright LED strips, drawing too much current can trigger your computer's port protection, shutting it down.
To avoid overloading your computer, use external USB wall chargers or portable power banks that can safely deliver 2A or more. Always use high-quality USB cables, as thin, cheap cables can cause a significant voltage drop over their length, leading to unstable project behavior.
Choosing the Right Battery for Mobile Projects
When your project needs to move around, batteries become essential. Standard alkaline batteries (like AA or AAA) are incredibly safe, cheap, and easy to find, but their voltage drops steadily as they discharge, and they cannot be recharged, making them less ideal for long-term use.
Lithium-Polymer (LiPo) and Lithium-Ion (Li-ion) batteries are the gold standard for advanced maker projects due to their high energy density, lightweight profile, and rechargeability. However, these batteries carry real safety risks; they are highly sensitive to overcharging, over-discharging, and physical punctures.
To handle lithium batteries safely, always integrate dedicated protection circuits (such as TP4056 charging modules) to prevent over-discharge. Never leave charging batteries unattended, and store them in fire-resistant LiPo bags when they are not in use for extended periods.
Regulating Voltage: LDOs vs. Buck/Boost Converters
Often, your power source will not match your project's required voltage perfectly—for example, using a 9V battery to power a 5V microcontroller. In these cases, you need a voltage regulator to safely step the voltage down or up to the correct level.
Voltage regulators generally fall into two categories: linear regulators (like the classic LM7805) and switching regulators (known as Buck or Boost converters). Linear regulators are simple but highly inefficient; they burn off the excess voltage as heat, which can cause them to become dangerously hot under heavy loads.
Switching regulators, on the other hand, are highly efficient (often over 90%). A Buck converter steps voltage down efficiently, while a Boost converter steps voltage up (e.g., boosting a 3.7V LiPo battery to 5V). For battery-powered projects, switching regulators are always preferred to maximize battery life and minimize heat.
Essential Safety Practices for Every Maker
Before powering up your project for the first time, taking a few simple precautions can save your hardware from instant destruction. First, always double-check your polarity. Connecting positive to negative and vice versa (reverse polarity) is the fastest way to destroy silicon chips; adding a simple protection diode can prevent this.
Second, always keep a digital multimeter handy. Use it to measure the voltage at your power rails before plugging in your expensive microcontrollers or sensors. Never rely solely on wire colors, as manufacturing standards can vary wildly.
Finally, consider adding a fuse to your power input line, especially when working with high-current sources like LiPo batteries. A simple fuse will instantly break the circuit if a short occurs, preventing melted wires, ruined components, and potential fire hazards in your workspace.
Comparison table
Power Source | Typical Voltage | Current Capacity | Safety Level | Best Use Case |
|---|---|---|---|---|
Computer USB Port | 5V | Limited (500mA - 900mA) | Very Safe (internally limited) | Programming and basic sensor testing |
Alkaline Batteries (AA) | 1.5V per cell | Moderate (non-rechargeable) | Extremely Safe | Simple toys and low-power educational builds |
LiPo / Li-ion Batteries | 3.7V per cell | Very High (rechargeable) | Requires caution & protection circuits | Robotics, drones, and portable IoT devices |
Wall Adapter (DC Jack) | 5V - 12V | High (continuous) | Safe (if using certified brands) | Stationary, 24/7 smart home hubs |
Frequently asked questions
Can I power a 5V Arduino with a 12V power supply?
Yes, you can connect a 12V supply to the Arduino's barrel jack or VIN pin, as the board has an onboard linear regulator. However, the regulator will get quite warm, so keeping the input voltage between 7V and 9V is highly recommended for long-term stability.
What happens if my power supply has more Amps than my project needs?
Nothing bad will happen. Your project will only draw the current it needs. Having a power supply with a higher current capacity (Amps) simply means it runs cooler and has plenty of headroom.
How do I know if a LiPo battery is damaged or unsafe?
If a LiPo battery looks puffy or swollen, smells sweet or metallic, or fails to hold a charge above 3V per cell, it is physically damaged. Stop using it immediately and dispose of it safely at a local battery recycling center.
What is the difference between a Buck and a Boost converter?
A Buck converter is a step-down regulator that efficiently reduces a higher input voltage to a lower output voltage. A Boost converter is a step-up regulator that increases a lower input voltage to a higher output voltage.
Comments
Be the first to comment.